Why the VTS Scenery Media Block Boosts Attention and Memory
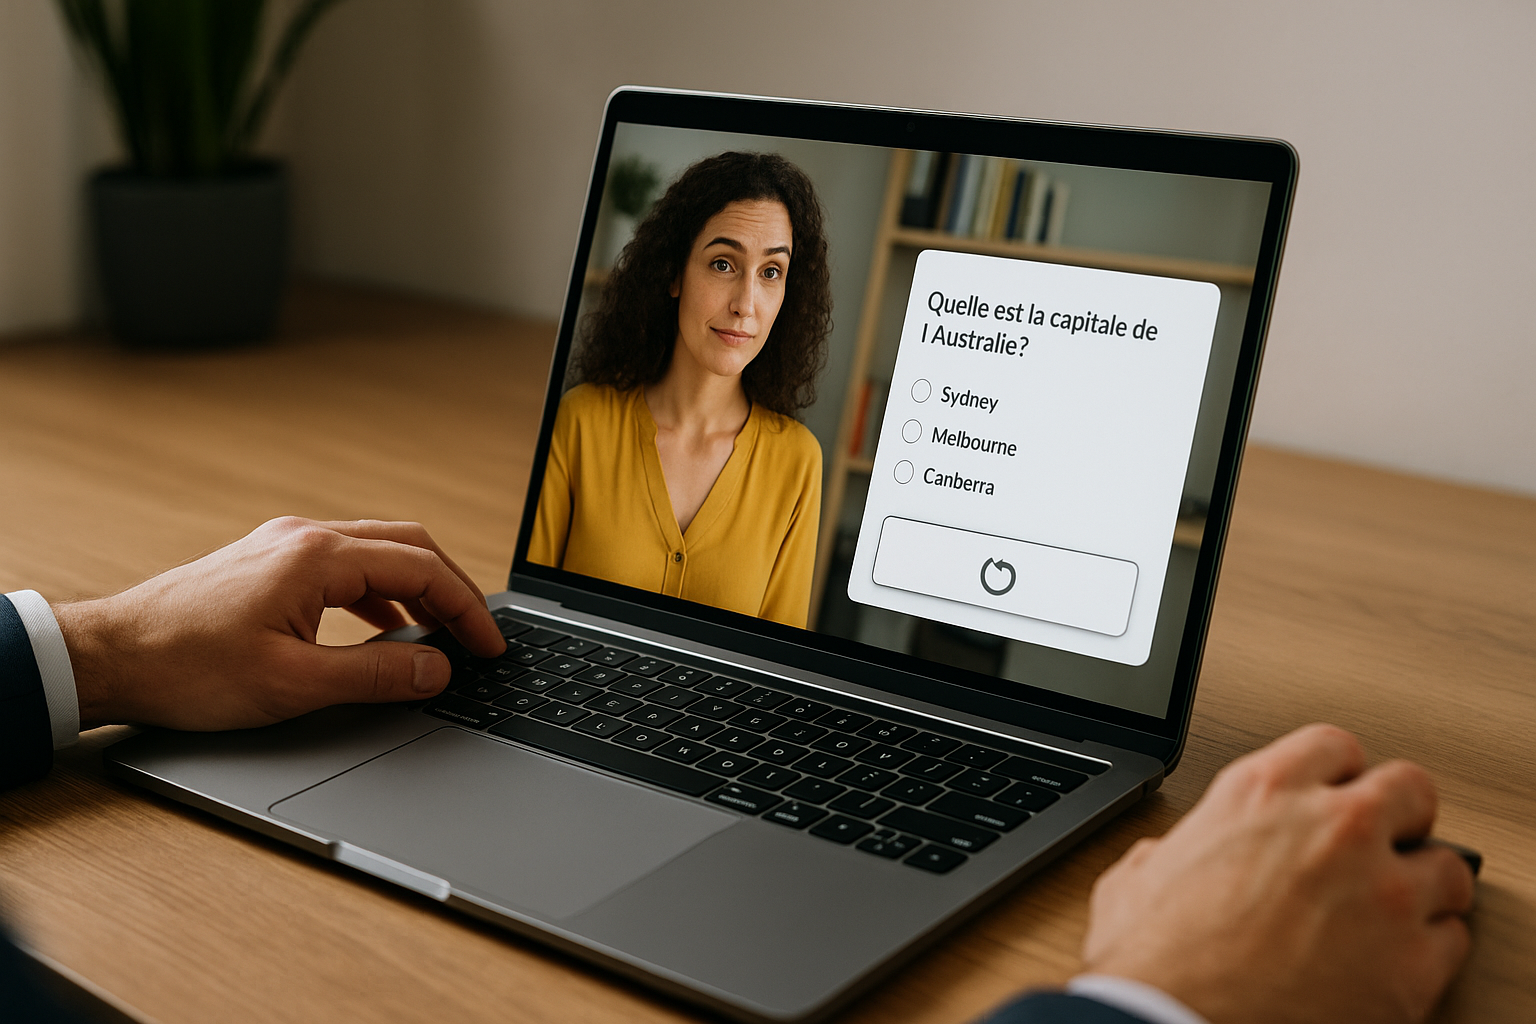
In a context where attention is scarce and memory demands are high, the VTS scenery media block changes the game. It embeds an image or video directly within a screen or frame in the scenery (computer, TV, whiteboard, kiosk, wall frame) of VTS Editor. Unlike full-screen video, which “breaks” the scene, the media stays in situ while characters continue to speak and react. The result: content that relies on context, strengthens meaning, and keeps the learner immersed in the story — precisely what training managers, instructional designers, and HR teams are looking for.
This principle aligns with research on multimedia learning and the guidance effect, which reduces cognitive load when text, audio, and visuals are integrated within the same perceptual space. See, for example, the Cambridge Handbook of Multimedia Learning (Mayer) and studies on the “split attention” effect (Chandler & Sweller, 1992), or even context-dependent memory which highlights the value of situated visual cues.
What the VTS Scenery Media Block Enables
Technically, you select a predefined media location (M1, M2, etc.) within the scenery and display the image or video of your choice there. You control the fit mode (Keep, Stretch, Cover, Contain), video options (play once, loop, freeze on last frame), and volume. The scene remains visible, characters react, and interactions continue: a dynamic visual aid without breaking immersion. Explore the VTS Editor sceneries to quickly locate your display surfaces.
Pedagogical and UX Value: Anchoring, Retention, Fluidity
A KPI in an open-plan office or a safety instruction on a control screen adds instant meaning: the media is part of the scene. Combined with a line (Speak block), a gesture (Character Animation), and a directed gaze (Gaze block), you create non-intrusive audiovisual redundancy. And because the learner doesn’t leave the scenery, the narrative flow is preserved: no full-screen switch, no cognitive pause. You can evolve the environment (an alert pops up, a schedule changes) just like in real life.
Configure the VTS Scenery Media Block for a Professional Output
Choose the Right Spot
Select the screen that makes sense in your scene. A PC facing the camera is great for tutorials or captures; a background TV supports a briefing; a wall frame suits process visuals or HR posters. Ensure readability: reasonable camera-to-screen distance, clear angle, sufficient contrast. Sync a gaze (Gaze block) with the media change to naturally guide the viewer’s eye.
Prepare Readable and Lightweight Media
Videos: 1280×720 (H.264, MP4), 2–5 Mbps, AAC audio at 128–192 kbps: a good quality-to-size ratio. Images: JPG for photos (quality 80–85%), PNG for transparency or thin text. Standardize aspect ratios to avoid visual “jumps.” Use clear file naming (e.g. tutorial_ERP_step2.jpg, kpi_s01.mp4) to ease maintenance.
Master Display Modes
Keep retains previous settings at that location: useful for dynamic updates. Stretch fills the space but may distort: avoid for text or diagrams. Cover fills without borders but crops: perfect for mood images. Contain shows the whole media without distortion (with margins): ideal for precise pedagogical content.
Set Video Playback: Timing and End
Three main options. Play once + hide: for one-off info that disappears afterward. Play once + freeze: retains the last frame as a reference (e.g. summary). Loop playback: for background animations; reduce volume or mute to avoid voice interference. On Web/iOS, autoplay with sound may be blocked: an auto-generated button allows users to activate sound manually.
Transparency and Replacement in the Scenario
Selecting “No media” makes the location transparent (screen off, empty board). Replace the media at different points to support the narrative (next slide, alert, updated KPI). To avoid duplicating blocks, use variable media and control the source via a variable (e.g. currentImage).
Compatibility, Sharing, and Testing
On iOS and Web, anticipate autoplay restrictions: a click may be required for audio. Test your scenes on multiple screen resolutions and aspect ratios: positioning + display mode ensures readability. On the Web, reduce media weight to improve loading; use a buffer scene with a Wait block to smooth the experience.
Accessibility: Readability and Alternatives
Ensure high contrast and avoid small text on scenery screens. If the media contains key information, provide an alternative via a Speak/Message block or a downloadable resource. Avoid rapid blinking and include follow-ups in case the learner misses the message.
Performance: Smoothness and Reliability
Use standardized formats, limit the number of simultaneous videos, and prefer images when animation isn’t essential. Test under real-world conditions (company network, required browser, VTS Player) and adjust before publishing.
When to Use Integrated Media, Full-Screen Video, or Foreground Media
Quick Comparison
Video (full-screen): ideal for high-impact moments (intro video, key testimony). Foreground: overlays the media on top of the scene for strong, temporary focus (critical alert). Media in scenery block: maintains context for PC tutorials, internal news TV backdrop, evolving HR bulletin board. It contextualizes without interrupting, supports without distracting.
Foreground vs VTS Scenery Media Block
The foreground is your “spotlight.” The VTS scenery media block is your “smart staging” that supports the story from start to finish. Combine both to modulate message intensity.
Use Cases: Script Your Media In Decor for Greater Impact
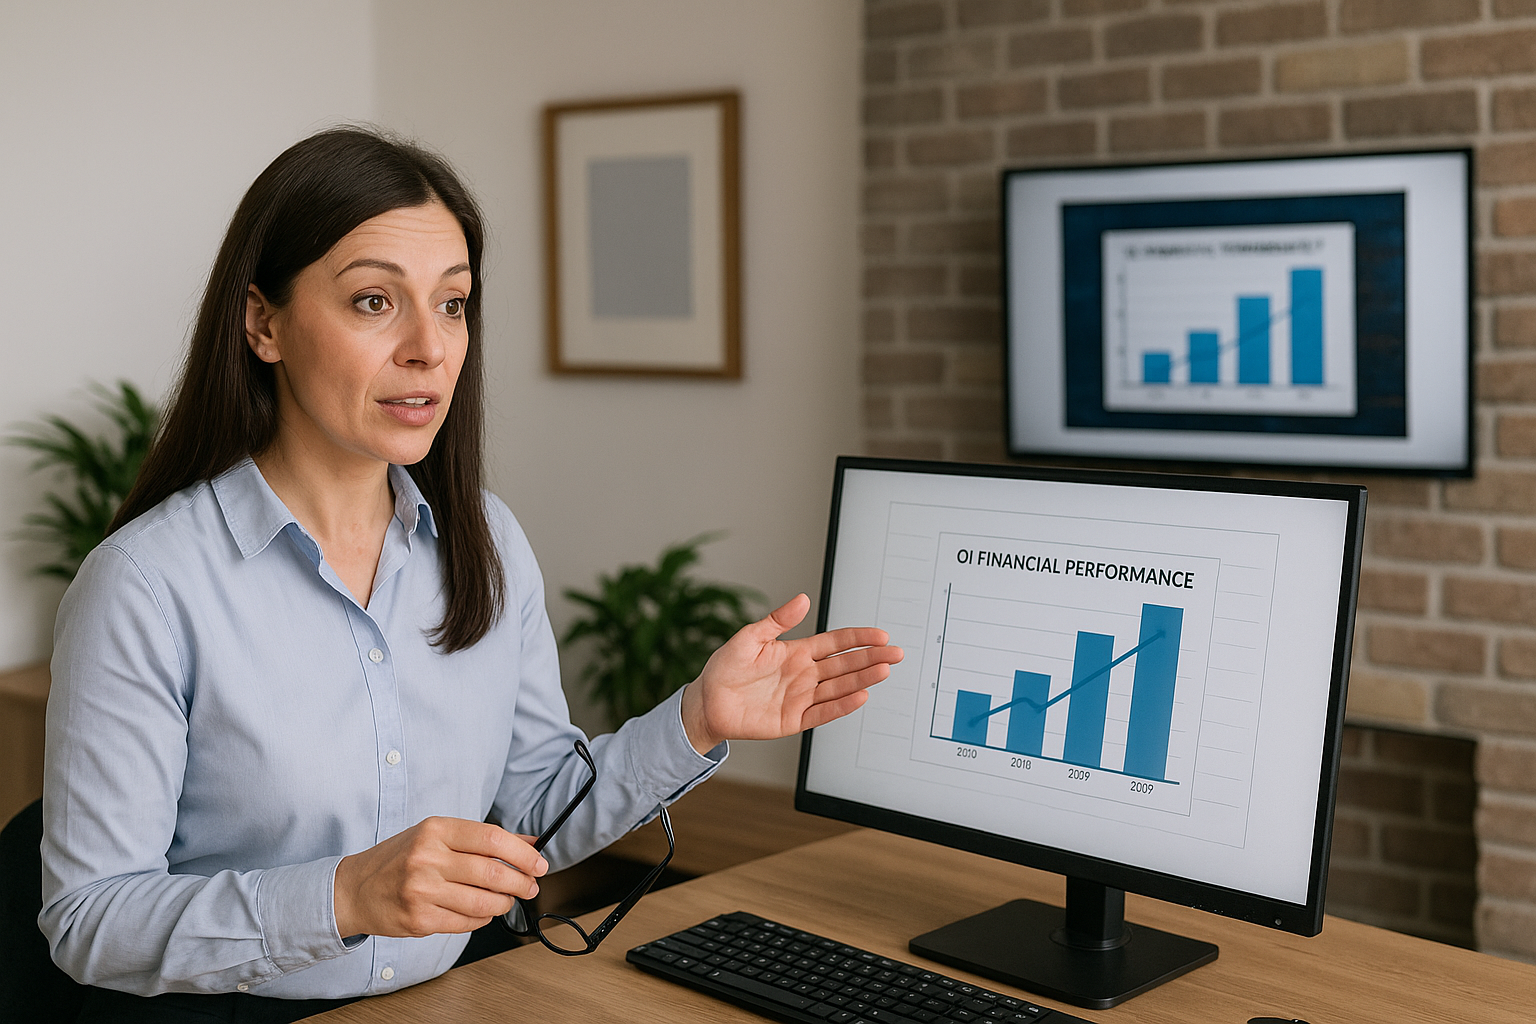
Briefing with In-Situ Screen
A branch manager presents the results. She speaks (Speak block), points to the screen (Character Animation), and her gaze shifts to the display (Gaze) as the graph updates via in-scenery Media block. The video ends on a freeze frame outlining action points: a visual anchor during the discussion. This visual ritual reassures management audiences.
Step-by-Step Tutorial at the Workstation
Play a short tutorial video on a computer screen, ending on the last step. The learner can click through Scenery Interaction to revisit a section or open a help resource. Add pauses (Wait) between steps and clickable areas: “Ready to continue?”
Micro-Narration and Credible Ambience
A reception TV plays a muted internal channel on loop; a HR board cycles through event visuals. At the right time, you replace the media with a “Breaking News” alert to trigger a reaction (Emotion) and move to priority instructions.
Guided Exploration and Parallel Paths
Combine Media in scenery and Scenery Interaction to create branched paths. Clicking M2 opens the “advanced procedure,” M1 launches the introduction. To avoid replays, disable the clickable spot after first click, or use Flags and Check Flags to control access.
Smart Pairings: Sound, Speak, Emotion, Gaze
Orchestrate a smooth switch: a soft “whoosh” (Sound) signals the media’s appearance, the character comments (Speak), looks at the screen (Gaze), and shows a moment of hesitation (Emotion); after the right action, a joyful expression closes the sequence.
Advanced Orchestration, Tracking, and Deployment
Adaptive Paths with Flags
Mark key milestones: “safety video watched,” “screen M2 viewed,” “tutorial completed.” Each event triggers a Flag; with Check Flags, you adapt what comes next (evaluation, accelerated summary, etc.).
Variables and Dynamic Media
Vary the contents in the same location without duplication: assign variables to your media (e.g. visual_A, visual_B) and control activeMedia based on level, score, or structured random draw. Want to go further? Check out our VTS Editor – Introduction to Variables training.
Smooth Sequencing
A Wait block creates a breathing space between the appearance of the media and the character’s dialogue; a Sequence block plays slides in order (slide 1 → slide 2 → slide 3) with no repetitive conditions; an animation punctuates each change. This micro-choreography reduces cognitive load and guides the learner.
Tracking and Analytics
Increment a Score upon full display or video completion; adjust Progress (25%, 50%, 75%, 100%); use Open web page to send a score to an external form or dashboard; export to SCORM for LMS integration. With VTS Perform, closely track engagement and iterate quickly.
Quality Checklist Before Publishing
- Multi-screen readability and sufficient contrast.
- Accessibility: text/audio alternative if necessary.
- Controlled file size (well-compressed 720p, optimized images).
- Audio behavior on Web/iOS (user interaction possible).
- Consistent Flags and exits (no dead ends).
- Tests conducted in target environments (VTS Player, company browser, SCORM LMS).
Quick Shortcuts and Evidence
Best Practices Backed by Research
- Integrating media into the scenery reduces attention splitting, supporting the split attention effect.
- Synchronizing voice, short text, and visuals enhances multimedia learning: see the Handbook of Multimedia Learning.
- Situated cues promote anchoring: context-dependent memory.
Go Further with VTS
- Explore VTS Editor and its AI features to speed up creation.
- Check out the sceneries and select your media slots (M1, M2…).
- Deploy and track with VTS Perform (analytics, skills, personalization).
- Enhance your skills with variables via our dedicated training.
Express Action Plan
- Map the relevant screens within the scenery (monitors, boards, frames).
- Prepare optimized media (720p, controlled compression) with clear naming.
- Set up display/playback (Contain/Cover, play once/loop, volume).
- Synchronize Sound/Speak/Gaze/Animations to focus attention.
- Add logic (Flags/Variables, variable media) and capture metrics (Score/Progress, Badge).
- Test on Web/LMS/Player and refine based on feedback.
Next Step
Pick a pilot scenario and insert your first media into a meaningful screen. Sync it with a short dialogue and guided gaze. Gather feedback, improve clarity and logic, then roll out the model more broadly. By integrating the VTS scenery media block, you shift from a static environment to an immersive, trackable experience — one that speaks to learners and performance indicators alike.