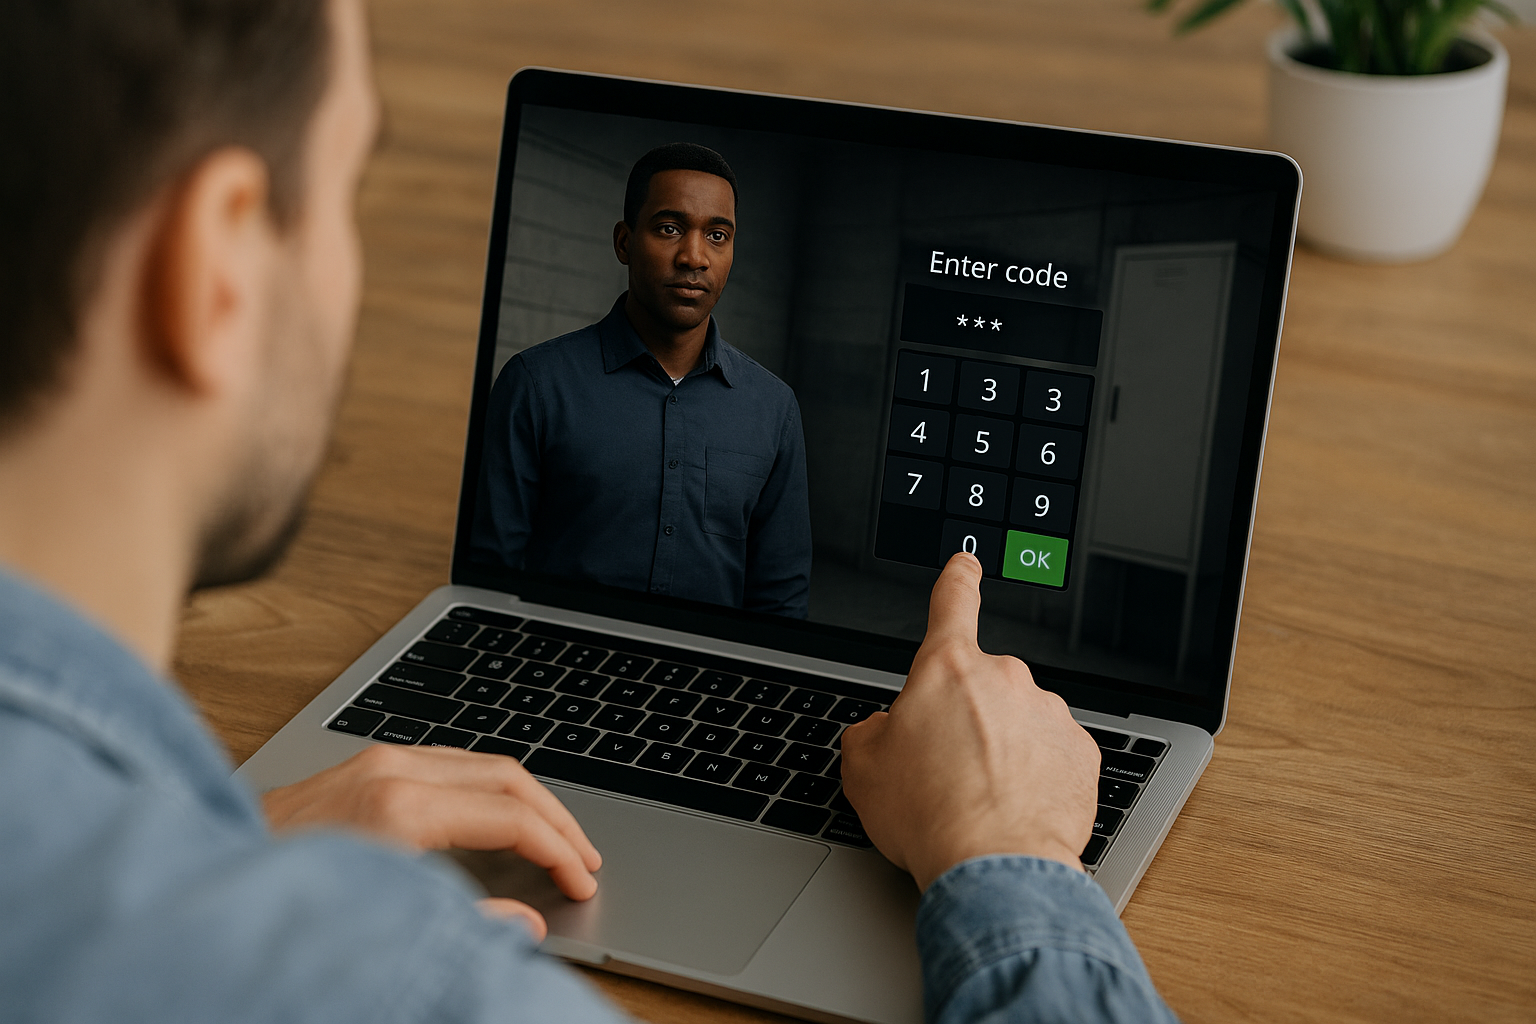
VTS Editor Menu Block: Create Interactive and Open E-Learning Pathways
Looking to tailor a module to each learner’s time constraints, level, and priorities, while maintaining clear LMS/SCORM tracking? The VTS Editor Menu Block is designed for that. It doesn’t score, it organizes: it centralizes pathway options within a clear and customizable interface, becoming the gateway to modular, personalized, and easily maintainable learning experiences.
Offering free exploration paths is not a luxury—it’s a lever for efficiency. Choice boosts intrinsic motivation (Ryan & Deci, 2000), 5–10-minute micro-sequences reduce friction (ERIC – Microlearning), and needs-based targeting increases perceived relevance. For the organization, this means reduced drop-off, easier follow-ups, and measurable adoption by section. In short: better training, faster, with greater impact. To dive deeper into gamification and active learning, check out this academic resource (Vanderbilt University – Active Learning).
This article will walk you through how the VTS Editor menu works, its visual settings, UX best practices for clear structure, and advanced use cases with technical blocks (Progression, Flags/Check Flags, Check Score, Teleport, Return/Checkpoint, Switch, Variables, Badge, Modify/Open Resource, Language Condition). Ready-to-adapt scenarios are included.
Using the VTS Editor Menu Block Effectively: Principles and Options
A Pathway “Router,” Without Scoring
The Menu block displays several options (text, image, or both) and triggers a dedicated output based on the learner’s choice. It doesn’t manage scores—that’s intentional. It’s for structuring, not assessing. In practice, it serves as an interactive table of contents, a home hub linking 3 to 6 sections, a mode selector (Discover / Practice / Assess), or a micro-module catalog. You can also separate “Learning” and “Key Resources” to clarify each area’s purpose.
Appearance and Clarity: Templates, Titles, and Legibility
The available templates (list, cards, grid…) affect aesthetics, not logic. Add a contextual title (“Choose your path” or “Where to begin?”) and ensure readability. Adjust text sizes for reliable 16:9 and mobile rendering. Drop shadows enhance readability over photos, rounded corners modernize the design, and “Color the image like the text” unifies monochrome icons on hover. Use a branded background, and if needed, a dark overlay for contrast (WCAG). These details boost adoption.
Revisiting and Guidance: One Setting That Changes Everything
The “Previously selected choices clickable” setting changes the experience. Enabled: learners can freely revisit sections—perfect for a frequently opened hub. Disabled: previously viewed options remain visible but can’t be clicked, directing learners toward undiscovered content. Choose based on your goal: free exploration or guided progression.
Menu, Phrase Choices, Quiz: Complementary Roles
The Menu routes to content. The Phrase Choices block allows for dialog-based interactions (with characters, emotions, feedback, and optional scoring)—ideal for role-plays and simulations. The Quiz block evaluates (single/multiple choice, sequencing), shows corrections and assigns points. Combined: the Menu structures, Phrase Choices and Quiz engage and measure.
Clear Outputs and Readable Graphs
Each Menu option has its own output—your graph remains clean and traceable. Name the outputs after their target sections (“Onboarding,” “Practice,” “Assessment”) and place each in its own Group. Recurring submenus should be turned into Functions, then called via the “Call Function” block: no copy-paste, faster maintenance, guaranteed consistency.
Designing a Menu That Guides Without Losing the Learner
From Simple Hub to Micro-Sequence
A hub is an anchor point. Learners return to it between activities and easily find what they need. Start with 3 to 6 sections, then add submenus if needed. For each section, think “micro-learning object”: clear intent, short activity, quick debrief, then back to the hub.
A universal framework: Hub > Section > Activity > Debrief > Return to Hub. It works for onboarding, sales training, safety, or compliance modules.
Action-Driven Microcopy
Your labels are signposts. Use action verbs, be explicit and consistent. Examples: “Explore the context (3 min),” “Practice handling an objection,” “Self-assess — 8 questions (5 min).” Keep the tone and info order consistent to reduce cognitive load. Choose meaningful icons: speech bubble for dialog, target for goal, question mark for quiz. More than six options? Split into submenus.
Accessibility and Mobile-First Design
A good menu must be readable everywhere. A black overlay helps with complex images; test font size on small screens, and ensure adequate contrast. In the Project Settings, enabling 16:9 ratio on mobile can unify rendering. Show the progress bar if relevant; otherwise, streamline the interface.
Subtle Yet Helpful Guidance
On first launch, light guidance prevents confusion. The “Show Interface” block can highlight the Menu or Resources button. “Message” or “Speak” blocks offer context (“In a hurry? Start with the 3-minute diagnostic”). A “Text Animation” can frame a transition. A short “Sound” signals a state change. The goal: help without cluttering.
Tracking and Access Conditions Without Frustration
The Menu block doesn’t score but supports tracking and gating. “Progression” updates percentage, completion, and success rates, sending data to the LMS or to VTS Perform. “Flags”/“Check Flags” unlock an option when prerequisites are met; if a learner clicks too early, route them to a “Message” explaining the next step. “Check Score” grants access to advanced content once a score threshold is met; otherwise, suggest remediation. “Badges” reward completion without cluttering the interface.
Multilingual and Localization
With “Language Condition,” display menu variants for each published language. Adapt labels, visuals, and, if needed, the section order. Always include an “Other” output to ensure every learner receives content.
Advanced Integrations: Getting the Most from the VTS Editor Menu
Competency and Level-Based Hubs
Display key competencies (Communication, Safety, Product), each linking to a “Levels” Menu (Beginner, Intermediate, Advanced). “Check Score” unlocks Intermediate/Advanced above a threshold; “Check Flags” grants access when a pretest is passed or a tutorial completed (OR logic). Upon completion, assign a “Badge” and suggest next steps via “Message.” Clear architecture: Hub > Competency > Levels > Activities > Debrief > Return.
Free Exploration with Teleport and Return/Checkpoint
In an investigation-style serious game, allow free exploration (“Lab,” “Archives,” “Briefing”) with “Teleport,” which creates persistent destinations in a navigation menu. A “Message” notifies each new destination. Use “Checkpoint” at key moments; if learners get lost, “Return” (Last Checkpoint) takes them back, while “Last Return Point” restores the exact previous location. Result: freedom without chaos.
Micro-Content Catalog and On-Demand Resources
A “Catalog” Menu can list micro-modules (3–7 minutes), while a “Resources” Menu collects sheets, procedures, and videos. “Modify Resource” gradually reveals documents based on progress (with alert badges). “Open Resource” forces display of a key document at the right time (“Open the reflex sheet before the exercise”). A “Message” provides context to prevent overload.
Dynamic Menus with Variables and Switch
Make your hub smart. Store in “Variables” the learner profile (beginner/expert), a pretest result, available time, or preferences. Route based on these variables: a beginner sees a short tutorial, an expert a complex case. If redirection depends on a numeric value (segment 1 to 10), “Switch” cleanly routes to the correct output—with a fallback if the value is out of bounds. You can also feed variables via “Web/AI Request” (LMS profile, business criteria) for enhanced personalization.
Tracking, A/B Testing, and Deployment
Even though the Menu doesn’t evaluate, reporting is precise. Use “Progression” to update percentage, completion, and success rates at the end of each key section, sending data to your LMS or VTS Perform. To constantly improve, monitor the most consulted sections, time spent, and rarely chosen options. A/B test microcopy or option order with a “Random” block, then compare metrics. For web export, use “URL Parameters” to inject variables (campaign, segment) and track cohorts.
Common Pitfalls and Quick Checklist
What degrades experience quickly: menus that are too long, vague labels, inconsistent icons, no return to hub, unexplained locks. Keep option counts reasonable, use submenus, write clear labels, and always provide a way back.
- 3–6 options per Menu, with actionable labels + duration/level when relevant.
- Adequate contrast (use overlay if needed), test mobile view in 16:9.
- Guaranteed return to hub; use Teleport/Return/Checkpoint for free exploration.
- Tracking enabled (Progression), clear gated access (Flags/Check Score).
- Motivating badges without overloading the Menu.
- Test every pathway and language thoroughly (Language Condition) before SCORM export.
Put It Into Practice with VTS Editor
The VTS Editor Menu Block isn’t just a welcome screen—it’s the cornerstone of your training journeys. By combining it with logic blocks (Flags, Check Score, Switch), tracking (Progression), guidance (Message, Show Interface), and motivation (Badge), you create experiences that adapt to individual profiles, time constraints, and learning goals—all while maintaining a readable, clean graph.
Start small: a hub with three options and a submenu. Apply the UX checklist, connect Progression and Flags for nuanced gating, assign a Badge at a key step. Fully test on desktop and mobile, then improve based on LMS or VTS Perform data. Get inspired by our client cases to see the real-world impact (Thales, Manpower…).
To explore the full potential of the authoring tool, check out the VTS Editor page and our gamified e-learning modules. Ready to accelerate? Request a demo or view our subscriptions to get started today.


