Integrating External Media in VTS Editor to Capture Attention and Measure Impact
What do training managers or instructional designers expect from an e-learning module today? Attention, retention, reliable data to measure effectiveness, and controlled production in terms of time and budget. The integration of external media in VTS Editor (videos, sounds, images, PDFs, web pages) precisely meets these expectations. A testimonial video lends credibility to a managerial message, ambient audio makes a scene more realistic, an infographic or a PDF memo clarifies key concepts, a web link leads to an up-to-date source. These media activate complementary channels, strengthen engagement, and serve the learning objective at every step of the journey. Academic research on multimedia learning confirms this effect of dual coding and the complementary visual/auditory channel; see Mayer’s principles summarized by Vanderbilt University (source).
The strength of VTS Editor lies in its ability to orchestrate these media without coding, through visual blocks and clear logic. You can display a fullscreen video, show a narrated slideshow, play spatialized audio, project media on an in-decor screen, or open a resource inventory at the precise moment the learner needs it. This guide is intended for training managers, instructional designers, and HR professionals who want to increase impact while ensuring accessibility, performance, traceability (SCORM and VTS Perform), and maintainability of projects.
Preparing and Importing Your External Media into VTS Editor
Recommended Formats and Dimensions
For video, aim for 1280×720 (MP4/H.264): a solid balance between quality and smooth playback, with fewer risks of audio-video desynchronization and compatibility across Web, VTS Player desktop, and mobile. Favor clips of 1 to 3 minutes: short, focused, reusable. For images, use JPG for visuals without transparency (lighter weight) and PNG for transparent background elements (logos, icons). Resize to actual usage—no need to import 4K for a thumbnail. For audio, an MP3 at 128 kbps minimum is sufficient for voice, and 192 kbps for polished musical ambiance. Prepare seamless loops with no audible “clicks” at the seam. PDFs should have a clear structure (bookmarks, table of contents), as they are often used for review.
Optimize File Size and Quality
Compress videos with a bitrate adapted to the type of shot: a static interview tolerates a lower bitrate than a dynamic screen capture. Split long videos into thematic sequences: the learner loads and revisits relevant parts faster, and you can more finely structure your assessments. Avoid multiplying audio tracks; prefer subtle fades using the Sound block. Always test in VTS Editor preview mode, then on your actual targets: Web (corporate network), VTS Player desktop (comfort), mobile (force 16:9 if needed in project settings). In terms of engagement, studies on MOOCs show that shorter videos increase retention (source).
Rights, Compliance, and Accessibility
Document the origin, usage scope, and duration of exploitation for each media file (internal production, licensed, royalty-free). For accessibility, provide subtitles or voice-over for videos and narrated slideshows, add transcripts for key audio tracks, and description text for essential visuals. Plan an alternative when video playback is impossible (network issue, locked computer): a summary via the Message block, a slideshow, or a PDF memo. Subtitles benefit all learners and enhance comprehension (source).
Organize the Media Manager
Use a simple structure: folders by type (Video, Image, Audio, PDF), then by chapter/scene. Clearly name files (e.g.: P1_Brief_Intro_720p.mp4, SFX_PhoneRing_v2.mp3). At the project level, add a note specifying source, version, and constraints for sensitive media. This upfront preparation avoids duplicates, speeds up searches, and secures updates.
Learning Resources Managed by the Inventory
Resources stored in the inventory are your educational “crutches”: a procedure sheet, glossary, printable checklist. With the Modify Resource block, display these items at the right time and trigger the notification indicator on the Resources button. Announce it using a Message or Speak block (“The Safety Sheet has just been added to your Resources”). The Open Resource block displays the correct file without breaking the pace if your scenario doesn’t require a pause when opening menus. Close the inventory at the appropriate moment to resume the action.
Lighten Your Graphs with Media Variables
To avoid duplications, assign a variable to each media item in the Manager, then dynamically populate a “selectedMedia” variable (random or conditional). In your blocks (Clickable Areas, Slideshow, Media in the Scene…), select this variable as the source. You no longer need to duplicate three blocks for three images—you control the display with a single configuration. It’s lighter, reusable, and opens the door to replayability.
Displaying and Staging Your External Content
Fullscreen Video: Captivate, Guide, Validate
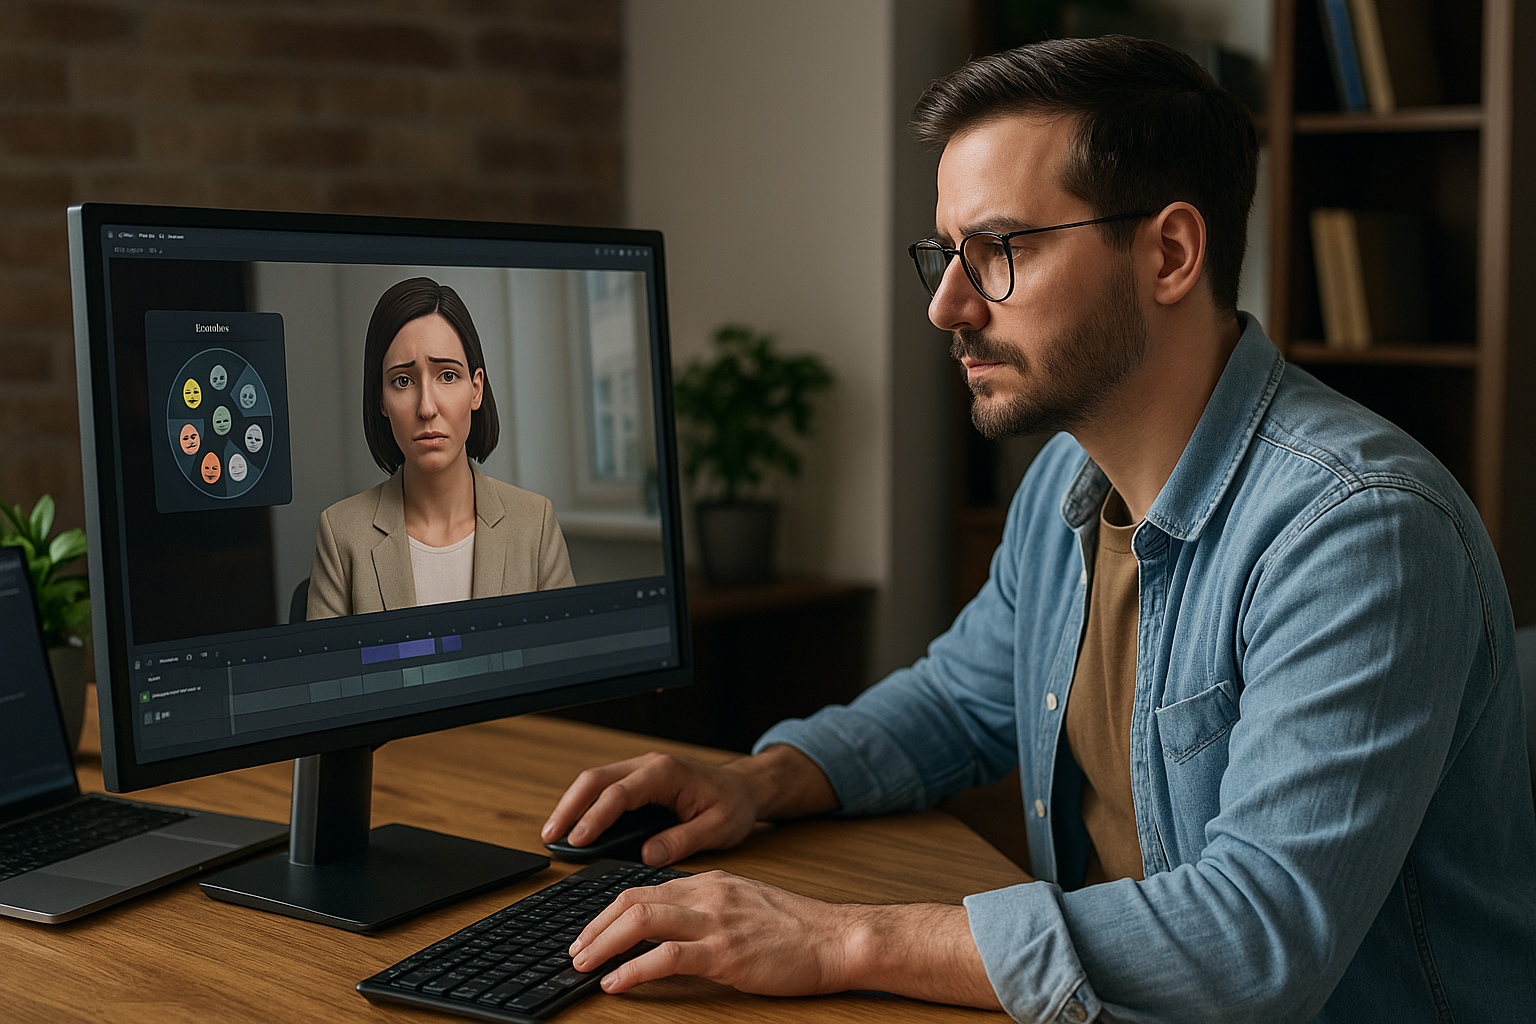
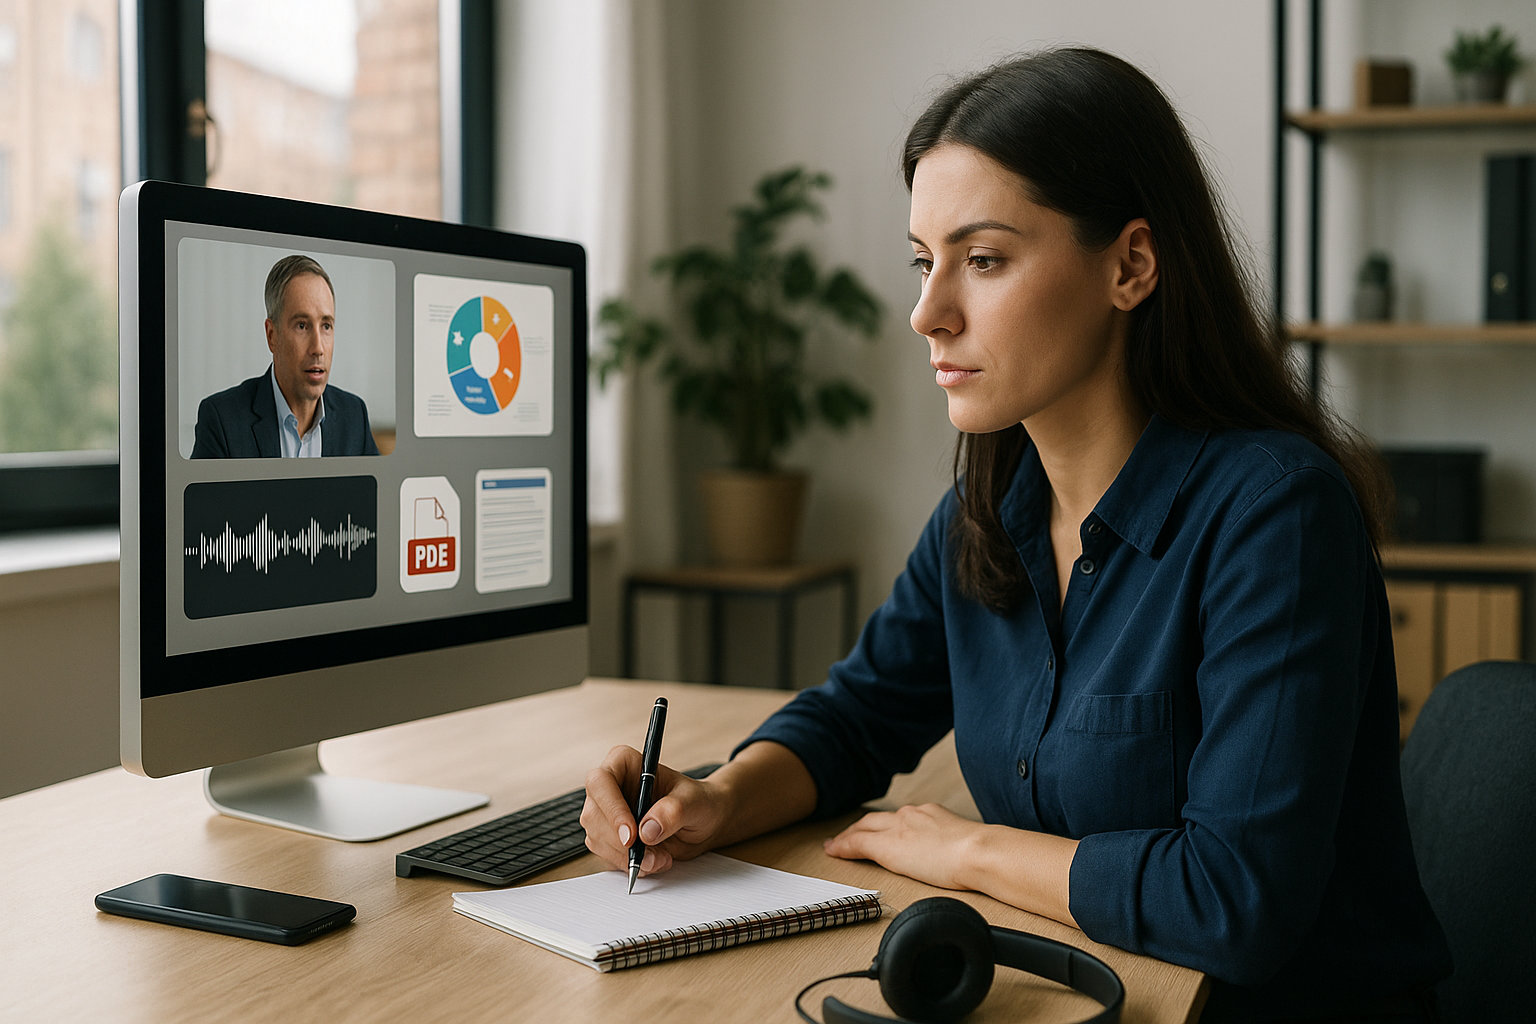
The Video block is key for emotional introductions, procedure tutorials, or testimonials. Enable or disable pause, replay, and skip buttons based on the educational importance: for a critical instruction, disable “Skip.” Show the control bar if the learner needs to review a specific segment. Introduce the segment with a short Message explaining the intent and offer subtitles. Follow it with a Quiz or True/False to assess the core message: great for LMS tracking and anchoring attention.
Narrated Slideshow: Structure Steps and Summaries
The Slideshow block works best for step-by-step procedures, kick-off briefs, and end-of-chapter summaries. Use Manual mode if you want to give learners time to absorb the content; Automatic or Custom for a more structured pace. The voice-over can be delivered by an in-scene character to maintain narrative coherence. Simple rule: one idea per slide, short text, meaningful image. Add a micro-quiz at the end to turn viewing into active learning.
Media in the Scene: Display ‘Within the World’
Want to play a video on a character’s computer screen or show a visual on a whiteboard? The Media in the Scene block projects your media onto predefined locations (M1, M2…). Use Stretch, Cover, or Contain to ensure readability. For videos, choose loop playback for a dynamic background or freeze on the last frame for a poster effect. On iOS during web deployment, use a play button to trigger sound—this is a system requirement. Enhance storytelling by syncing a Speak block with displayed content in the scene: your virtual trainer points, comments, transitions.
Foreground: Educational Zoom
The Foreground block creates an overlay above the scene—perfect for a close-up of a diagram, safety alert, or explanatory screen. Position it with the anchor, adjust its size, and make sure it doesn’t block key interface elements (score, time). Keep it short: long overlays break context. Dismiss it after key information is delivered, then resume narration.
Message and Text Animation: Clarify and Guide
The Message block provides a clear window for instructions, memos, or inventory notifications. You can include an image, soft sound, or a character-delivered voice. Text Animation, which is non-skippable, marks a turning point: beginning a section, announcing objectives, transitioning. If the learner is asking, “What should I do now?”—these are your go-to blocks.
Sound: Ambience, Effects, and Focus
Ambient audio transforms an empty room into a bustling open space; spatial sound indicates where a ringing phone is. The Sound block lets you play a single or looping sound, adjust volume and fades for smooth transitions. With spatialization, intensity varies with camera direction; when used with the Gaze block, you can direct focus to a key element. On mobile, limit bass and avoid high volume.
Make Your Content Interactive, Measurable, and Connected
Integrating external media in VTS Editor isn’t enough—it needs to be activated, measured, and connected to your learning ecosystem.
Clickable Areas: From Exploration to Evaluation
With the Clickable Areas block, turn an image or layout into an exploration space. Each zone can trigger a Message, Speak block, Quiz—even update the Score. Clearly label your zones, organize them in layers, and choose “Wait for User” to let curiosity lead. To avoid repetition, delete zones after their task is complete.
In-Scene Interaction: Click “In the Scene”
Making an on-screen element clickable feels intuitive to the learner. The In-Scene Interaction block turns media spots (M1, M2…) into interactive targets. Pause the graph until the click, then deactivate the spot after use for clean progression. Ideal for serious game puzzles or presentations where the learner chooses the exploration path.
Open Web Page: Extend and Capture Data
The Open Web Page block launches an external resource in the default browser—ideal for a current article or a feedback form. You can pass the current score via the URL to link feedback to performance level. Let the learner know their browser may block pop-ups; a short Message before opening avoids confusion. For critical content, offer a PDF mirror in the inventory.
Guided Inventory: Timely Help
The Modify Resource + Open Resource combo creates a “learning assistant.” Unlock a sheet, announce it, open it automatically, then close the inventory. Example: after a risky decision in a safety simulation, open the “What to Do” sheet. The learner adapts, then you measure the impact via a Quiz or repeated scenario. Also take inspiration from real-world cases like Manpower Academy: a mix of video, quiz, and exploration that boosts engagement.
Measure, Manage, Certify: Score, Check Score, Progression, Badge
Connect media to performance. The Score block adds or subtracts points for skills defined at project level (e.g., Communication, Safety). Check Score compares current score to a threshold to route to remediation or success. The Progression block adjusts advancement and completion/success status, sending data to VTS Perform or your LMS. Finally, the Badge block values key milestones: full exploration of an image gallery, full viewing of a critical video followed by qualifying score.
Multi-Device and Performance Testing
On WebGL and iOS, audio/video playback may require user interaction; use a Play button for in-scene media. On mobile, force 16:9 display if necessary. Favor short, optimized media, and test real paths: corporate network, offline with VTS Player, BYOD context. A 10–20 user internal pilot quickly reveals any needed adjustments.
Quick Checklist
- Proper formats and size (1280×720 video, optimized images, audio ≥128 kbps, structured PDFs)
- Accessibility ensured (subtitles, transcripts, descriptions)
- Organized Media Manager and media variables in place
- Appropriate blocks used (Video, Slideshow, Media in Scene, Foreground, Message/Text Animation, Sound)
- Relevant interactions (Clickable Areas, In-Scene Interaction, Open Web Page), guided inventory
- Tracking configured (Score, Check Score, Progression, Badge), SCORM/VTS Perform export tested
Common Mistakes to Avoid
- Videos that are too long or too heavy, disrupting flow
- Lack of subtitles and alternatives for key content
- Overusing Foreground overlays that hide the interface
- Forgetting iOS/Web constraints for audio playback
- Omnipresent audio ambiances without fade or logic
Take Action Now
A Simple, Testable Prototype
Prototype a complete scene: an intro video, a resource unlocked then opened automatically, an exploration via Clickable Areas, and a final Quiz. Test across Web, VTS Player desktop, and mobile; collect feedback; adjust formats and bitrates. Connect Score, Check Score, and Progression blocks, publish in SCORM or on VTS Perform, and analyze your session data: view rates, accessed items, competency-based scores.
Industrialize to Save Time
Standardize your naming conventions, use media variables broadly, and build reusable “functions” based on block combinations to accelerate production. To go further, explore our certified VTS Editor training, request a personalized demo, or start your 30-day free trial.
Why It Works: Research-Based Support
The principles of multimedia learning (Mayer) and dual coding validate the combined use of images, text, and sound (source). Studies on video optimization highlight the benefits of short, focused formats (source), while accessibility features such as subtitles improve understanding for all learners (source).
The Final Word
Integrating external media in VTS Editor isn’t about “making it pretty,” but about designing truly impactful learning experiences—contextualized, interactive, accessible, and measurable. By carefully preparing media, choosing the right blocks, and planning tracking from the start, you deliver modules that resonate with learners, reassure HR, and inform training leaders. To explore everything you can create, visit the VTS Editor page and our client cases.