Why the VTS Editor Return Block Improves Navigation
Looking to reduce dropout rates, increase completion, and provide a seamless experience without restarting the whole scenario? The VTS Editor Return Block is one of the most effective tools to shift from linear navigation to a controlled, intuitive, and replayable learner journey. When configured properly, it allows learners to return to the exact right place without losing their score, variables, or progress. This enhances satisfaction, makes it easier to correct mistakes, and saves time during design. Training managers, instructional designers, HR leaders—here’s how to make the most of it.
Simple Functionality, Tangible Impact
The Return block sends the learner back to a specific point in the scenario without breaking the context or resetting the session. It relies either on a checkpoint placed with a Checkpoint block or on the exact place from which the learner was “teleported” (e.g., after clicking an interactive zone). This contextual return preserves the state of the journey (score, variables, progress), avoiding the feeling of “starting over.”
For a training manager, this results in smoother navigation and learners who feel safe to explore and retry. For a designer, it’s the ability to create effective learning loops (trial and error), alternative branches, and pinpoint corrections—all while keeping control over pace. For HR, this ensures better alignment between learning objectives, completion metrics, and tracking. Research supports the benefits of clear guidance and rapid feedback in effective learning (Shute, 2008).
To explore the authoring tool itself, visit the VTS Editor page.
Two Return Modes for Your Scenarios
Last Checkpoint. The learner returns to the last checkpoint they passed. This is the ultimate “guided return”: you mark key sections (beginning/end of a chapter, before a quiz, entering an exploration hub) and offer a clear, stable restart point. Ideal for macro-level anchors and structured progress.
Last Return Point. The learner returns to the last block left via teleportation, provided the “Save Return Point” option was activated. This is a highly precise micro-context return, perfect for exiting a resource, tutorial video, or sub-activity and picking up exactly where they left off. Investigation scenarios, trial-and-error flows, or micro-corrections gain in realism and effectiveness.
You’ll often combine both: checkpoints to structure the module’s architecture, saved return points to fine-tune local experience and avoid friction. The benefits of clear navigation in interactive environments are documented in research on self-regulation in hypermedia (Azevedo, 2005).
Where Return Points Come From
A precise return point can be created by several blocks if you enable “Save Return Point”: Clickable Zones (accessing a hint), Media Click (procedure video), Countdown (when time runs out), or Teleport (destination menu). Enable this option only where coming back to the “exact same point” has pedagogical value. For non-essential detours, prefer a global Checkpoint to avoid an overly dense return stack.
Managing Successive Returns (LIFO Logic)
Each saved teleport stacks a return point. In “Last Return Point” mode, VTS Editor uses a LIFO (Last In, First Out) logic: the stack is unwound step by step, while keeping score, variables, resources, and time intact. It’s powerful… if used wisely. Limit “saving” teleports to those that truly warrant a precise return. Standardize entry/exit contexts (same characters, same scenery) and use variables/flags to avoid endless correction loops.
Limits and Useful Safeguards
In “Last Checkpoint” mode, if no checkpoint has been passed, a Return block ends the scenario. This isn’t a bug—it’s by design. Best practice: insert a first checkpoint early (after the intro) and warn learners before a potentially sensitive return. Also prepare a plan B (a Menu or a “Home” Teleport destination) for an elegant exit.
Step-by-Step: Configuring the Return Feature in VTS Editor
Place Strategic Checkpoints
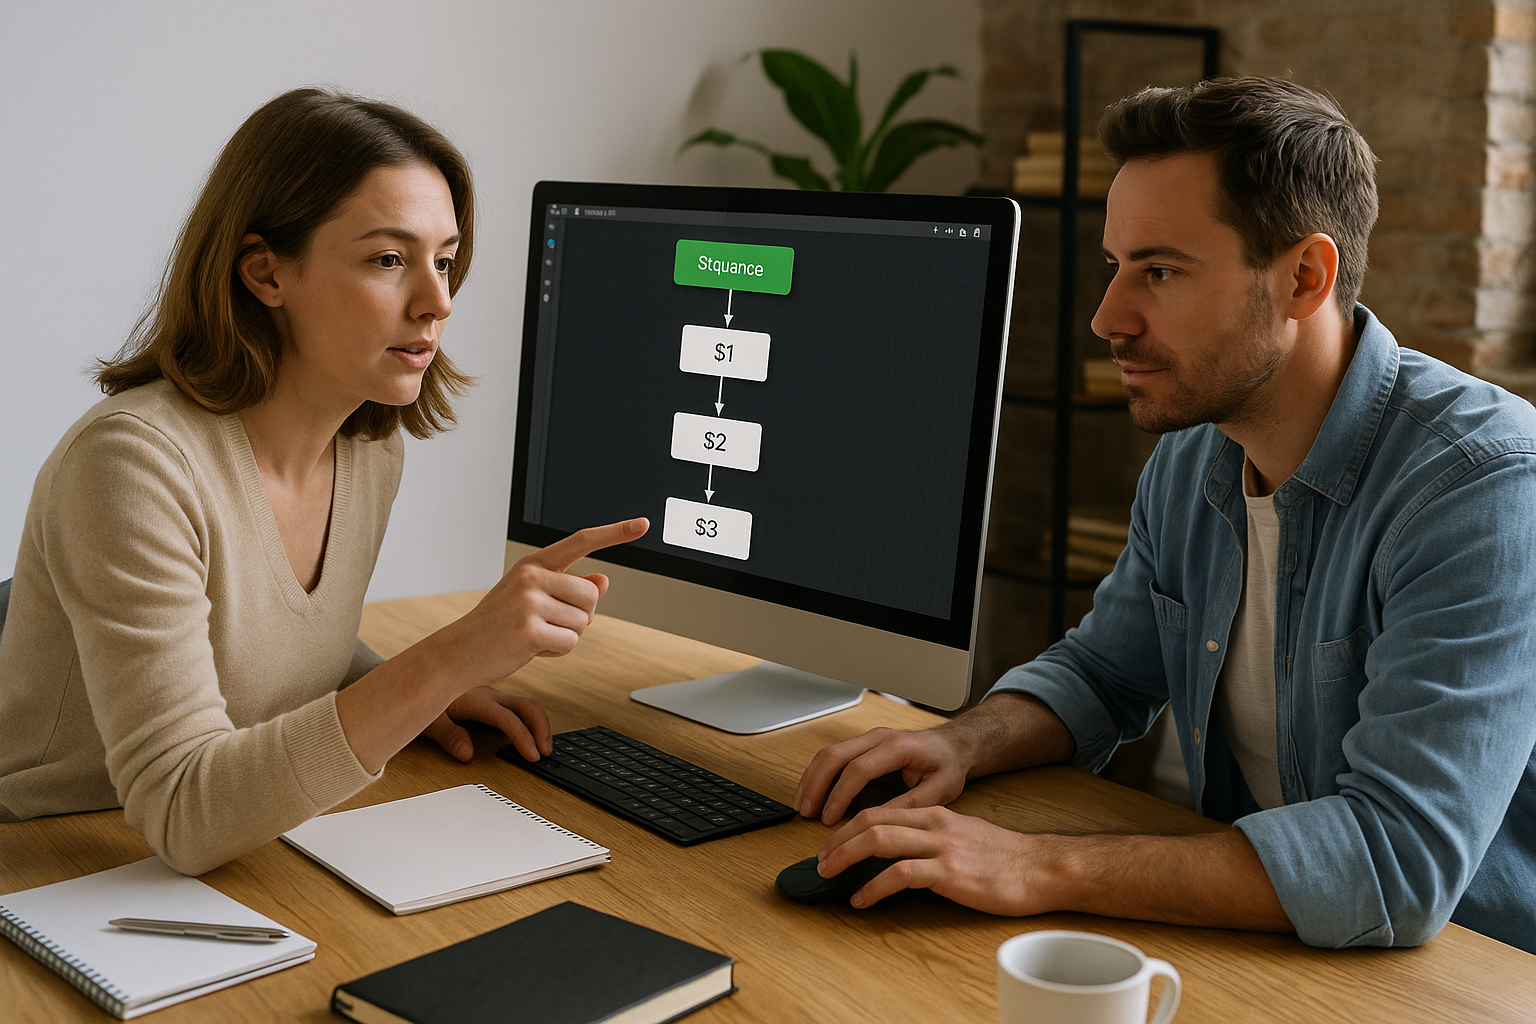
Think of checkpoints as visual and navigational anchors: at the beginning and end of each learning segment, before major quizzes, or at the entrance of an exploration hub. For short modules, 2 to 5 checkpoints are enough; in rich serious games, 8 to 10 well-placed ones are still manageable. Name them clearly (e.g., CHK_Intro, CHK_PreQuiz, CHK_Hub_Investigation, CHK_EndChapter) and document their role in the graph. This discipline helps with maintenance and speeds up review cycles.
Activate “Save Return Point” Where It Adds Value
On a Clickable Zone opening a help sheet, a Media Click launching a video, or a Countdown that leads to an outcome… check “Save Return Point” if you want the learner to go back to the exact place they came from. Check scene compatibility upon return: expected characters present, media in correct state, soundscape appropriate. Tip: synchronize the visual cue with a Message or Speak block to explain the return, reinforce logic, and reassure learners.
Three Reusable Flow Patterns
- Guided Free Exploration. Place CHK_Hub, offer destinations via Teleport, and make some clickable zones “saving.” The learner explores, views a clue, then the Return block (Last Return Point) puts them back in context or back to the hub via (Last Checkpoint). Result: exploration freedom without losing track.
- Learning Loop with a Resource. Place a checkpoint just before a challenging activity. Offer a resource via a “saving” Clickable Zone. After viewing it, a Return block (Last Return Point) resumes the activity in the same state. This facilitates trial and error and strengthens retention.
- Post-Quiz Remediation. CHK_PreQuiz, followed by a quiz. On error, show feedback, a short remediation (correction), then Return (Last Checkpoint) to CHK_PreQuiz for a new attempt. Limit attempts with a Counter, and if needed, include a support path. On success, assign a Badge and update Progress.
Inform and Guide the Learner
Return is more powerful when understood. Use Message to say “You’re resuming from the last milestone passed” or “Back to previous context.” A character using Speak can guide: “Let’s return to the key point to retry.” If time or score matters, display the interface to draw attention to the timer, progress, or score. For clear transitions, use Text Animation or Foreground as visual markers.
Avoid Loops and Standardize Testing
Two simple safeguards can prevent infinite loops:
- A “already_remediated” flag activated after correction, then checked before offering the same return again.
- A Counter to limit the number of attempts.
For testing, previewing (F5), selecting the active block (F7), and viewing variable status (V) are your best friends. If you need to replay a quiz “like the first time,” place a Reset block just before. And if you need to reflect the exact state in an LMS, use the Progress block to adjust percentage, status, and score; then send data via VTS Perform.
Use Cases and Best Practices for the Return Block
Nonlinear Exploration and Investigation Scenarios
In an investigative serious game, set Teleports to “Crime Scene,” “Lab,” “Archives,” and a CHK_Hub checkpoint. Clickable Zones for detailed exploration save return points. The learner moves around, checks clues, then uses Return to go back to the exact spot—or returns to the hub to synthesize. You enhance replayability and memory by alternating observation and action. Well-executed gamification supports engagement and performance (Sailer & Homner, 2020).
Assessment and Targeted Remediation
For a compliance training core module, place CHK_PreQuiz before an assessment. On error, provide contextual feedback, optionally open a critical resource, then Return (Last Checkpoint) to retry the test. Limit attempts (Counter), award a Badge on success, and use Check Score to unlock an advanced path. For a real-world example of impact on engagement, read the Manpower case study.
Microlearning and Chaptering
Each micro-module starts with a checkpoint. A Menu or Teleport provides access to sections. If a learner wants to replay a sequence, Return (Last Checkpoint) quickly restarts it. This format promotes self-direction, targeted revision, and improved completion rates—without sacrificing LMS analysis thanks to VTS Perform.
Performance and Maintainability
Resist the urge to “save everything.” Checkpoints provide structure; saved returns offer fine control. Standardize your naming (CHK_, RET_, HUB_), comment critical blocks, and bundle recurring patterns (e.g., “correction + return + counter”) into a reusable Function. To cleanly replay certain sequences, the Reset block restores the target block to its intended state. These best practices accelerate production and simplify updates.
Measure, Understand, Iterate
Your returns only matter if measured. In VTS Perform (or your LMS via SCORM), observe abandonment points, time before/after a return, and success after remediation. If a return point is too deep in the stack and causes confusion, move it closer (new Checkpoint) or simplify the structure. A Recap block can locally track key milestones; a Web Request block can log events like “return_executed” or “remediation_done” to your analytics backend. For more on the impact of feedback and corrections on learning, see Shute (2008).
Need structured methods and real examples? Browse our client cases or level up with our VTS Editor training.
Start Leveraging the VTS Editor Return Block Today
By combining Checkpoints (macro-structure) and contextual returns on teleportation (micro-precision), you create journeys that build confidence, foster trial and error, and honor the learner’s effort. Pair them with Message/Speak for clarity, Counter and flags to manage loops, and Badge and Progress for motivation and tracking. Next concrete step for your teams: map 2–3 key markers, enable “Save Return Point” on key detours, test your flows under extreme conditions (F5, F7, variable state), and measure the impact in your LMS.
Ready to try it now? Request a demo or start your 30-day free trial.


